The Business Details Settings section in Bookissa is where you define the foundational identity of your business within the booking system. These details personalize the front-end booking experience for your clients and appear across various system-generated communications, such as email notifications and invoices.
This guide explains how to configure your business information and the practical impact of each setting.
Accessing Business Details Settings #
- Log in to your Bookissa Business Page
Go to Settings.
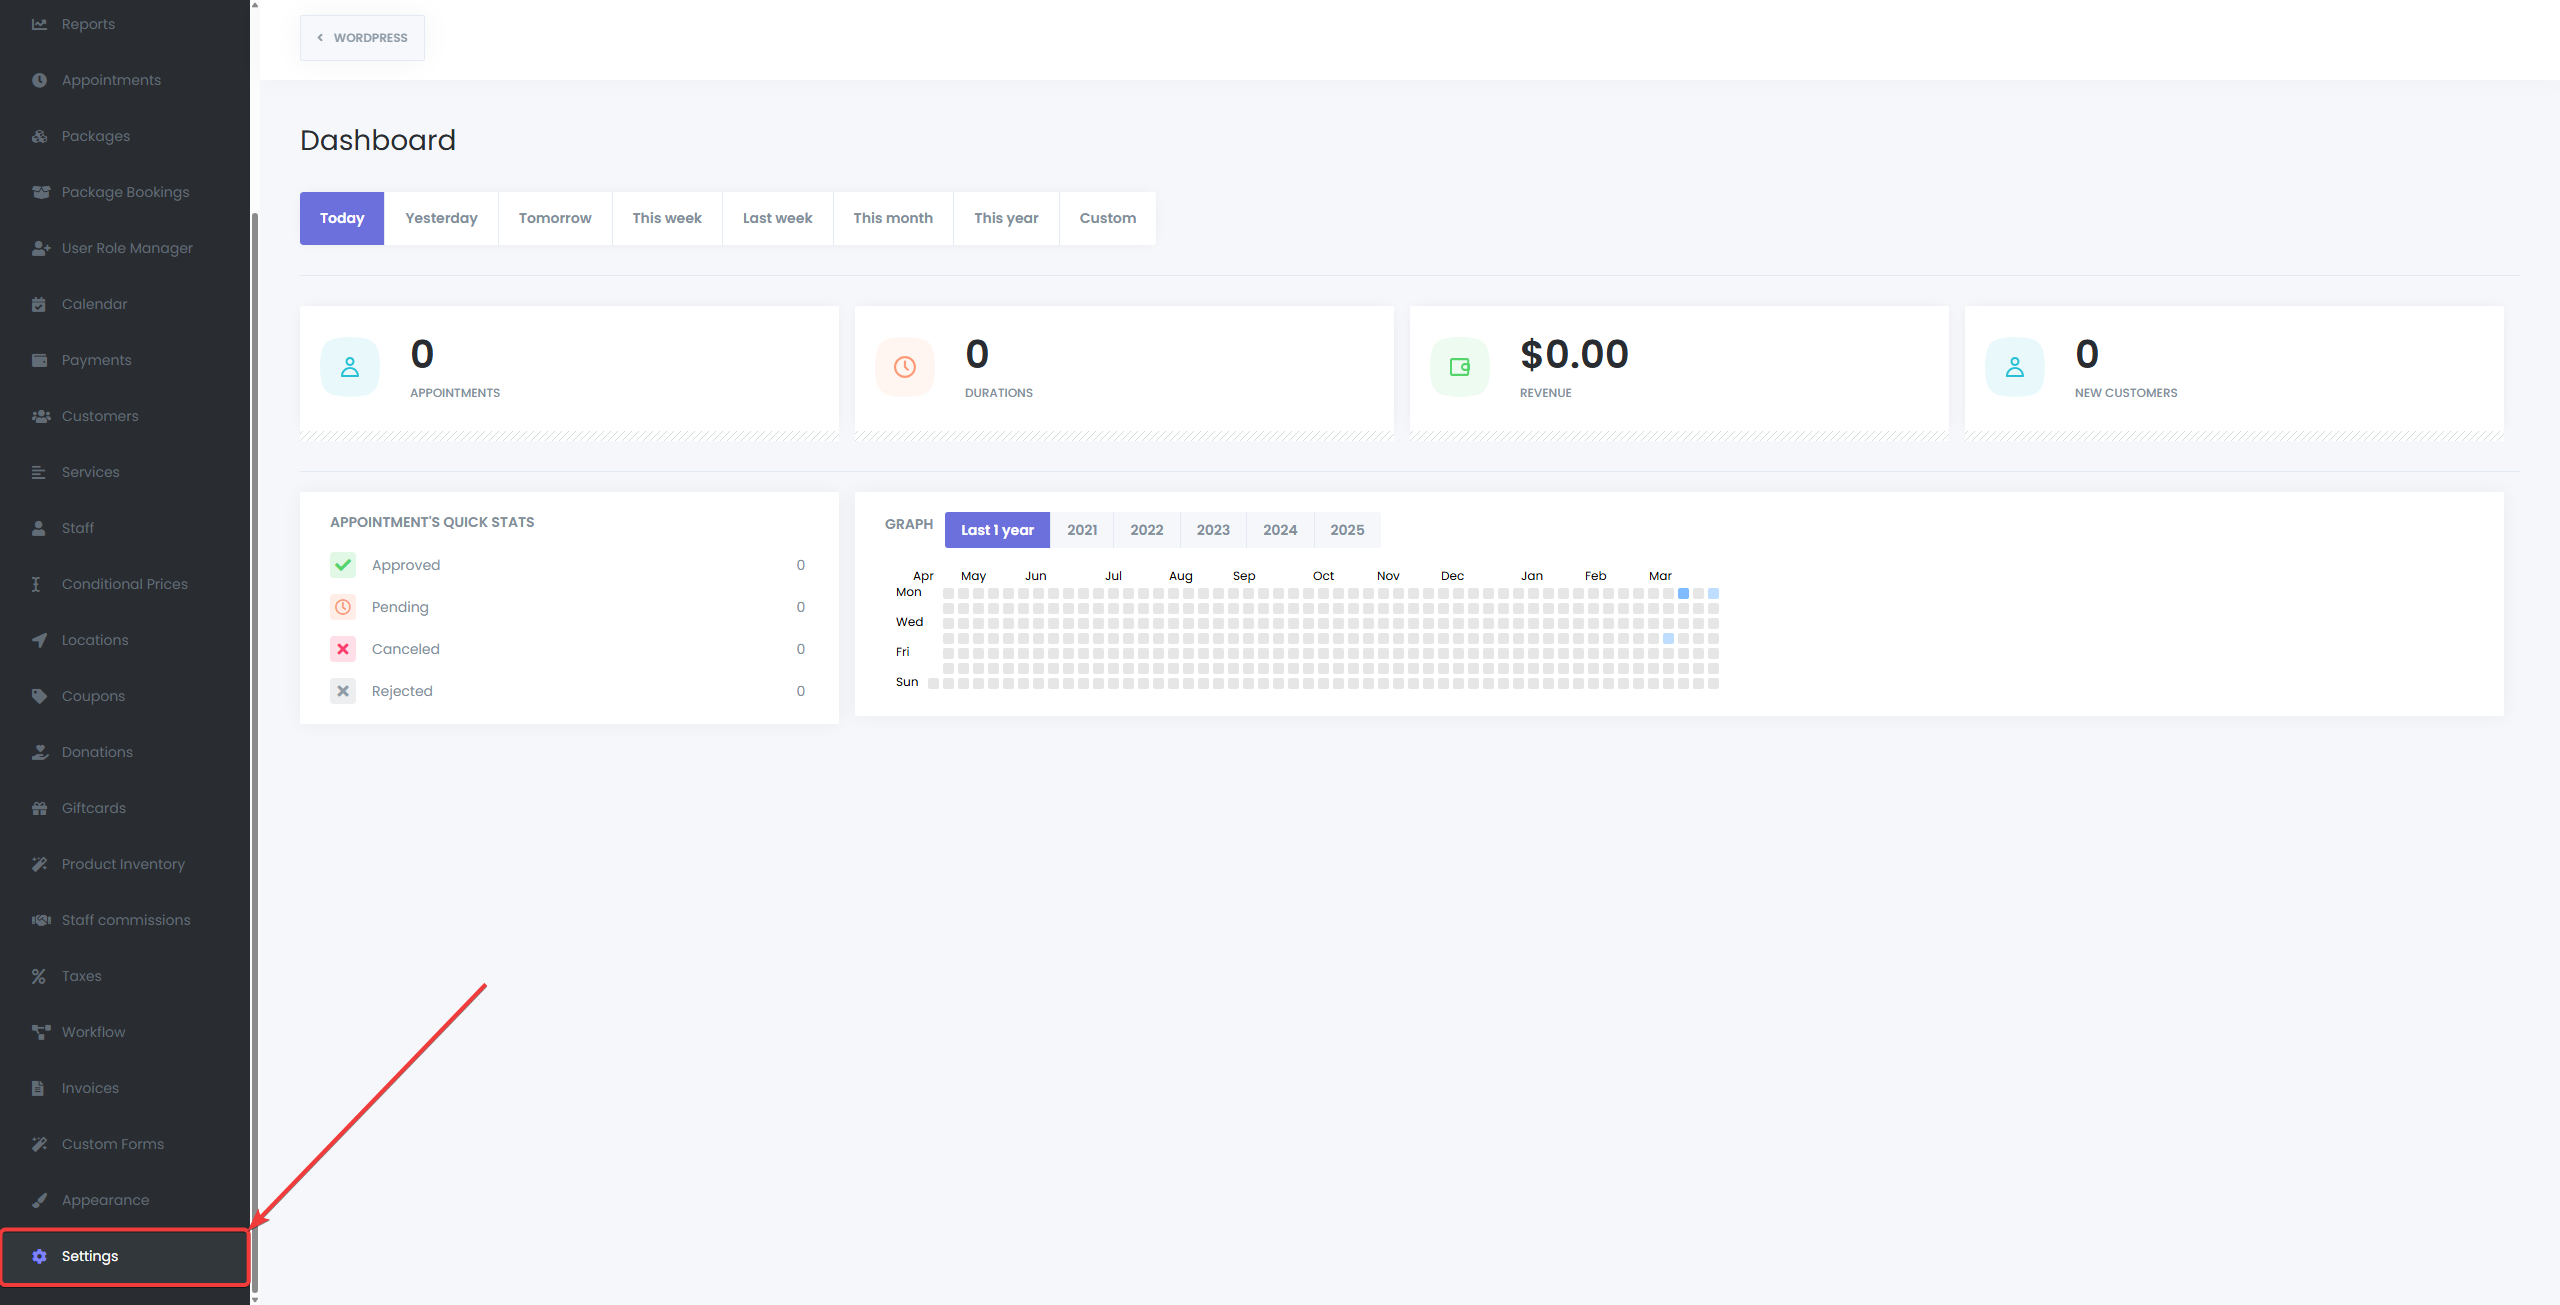
Click on the Business Details tab.
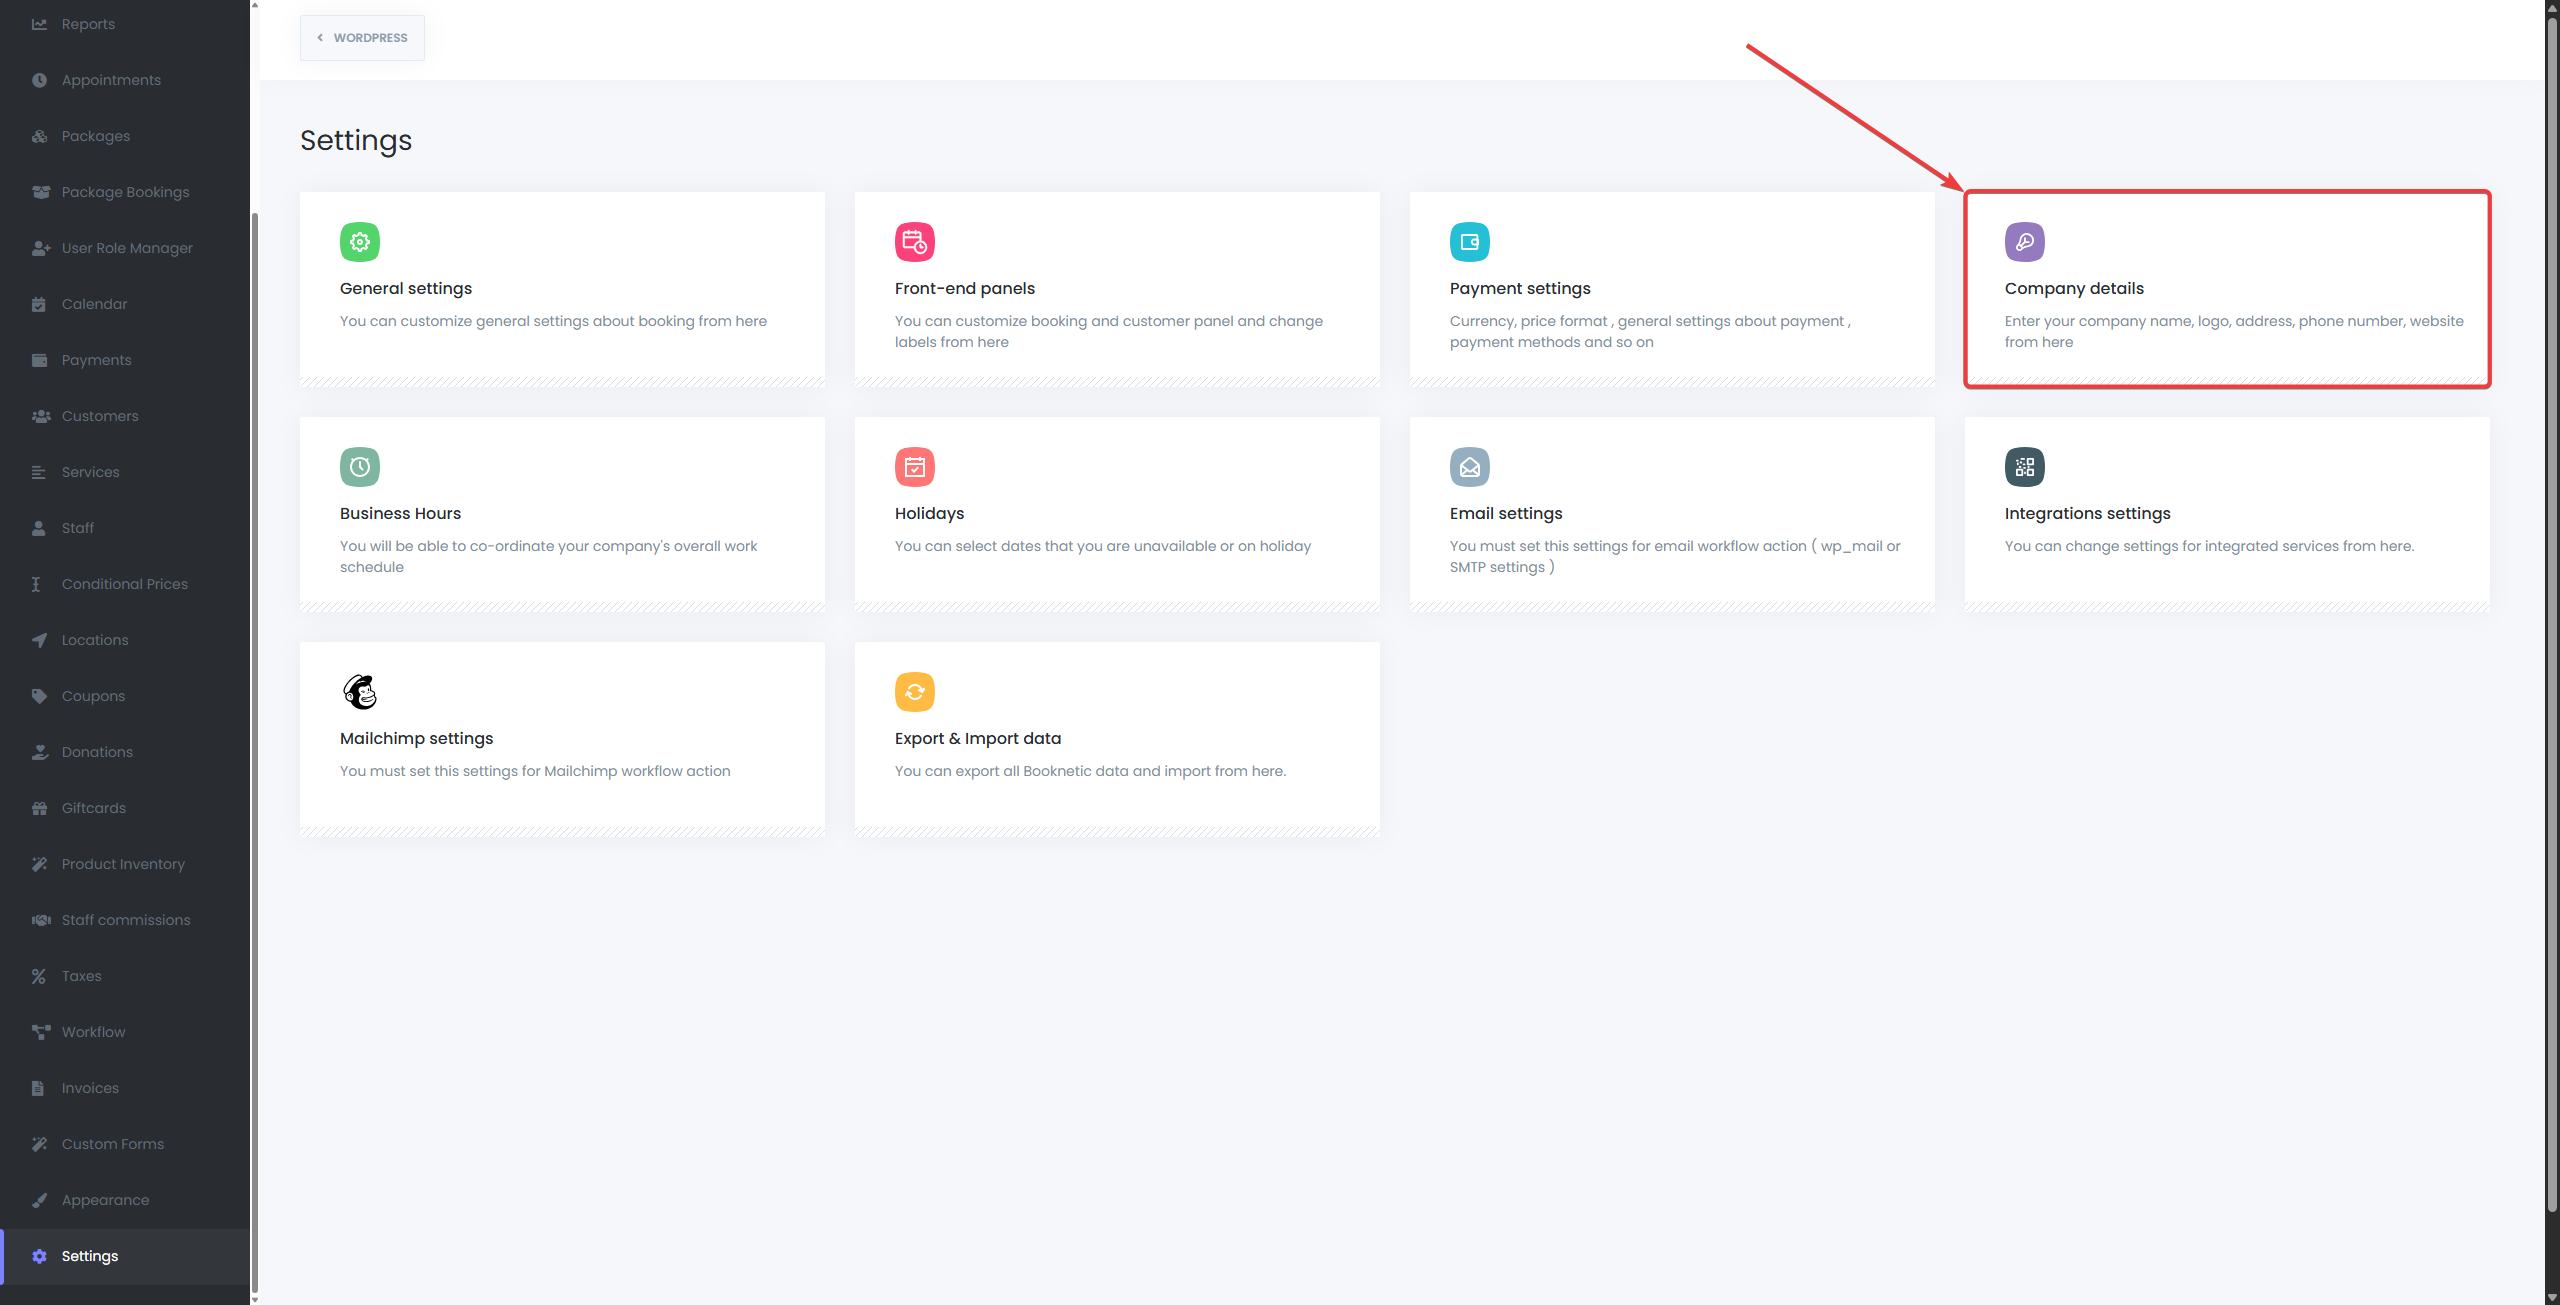
Available Fields #
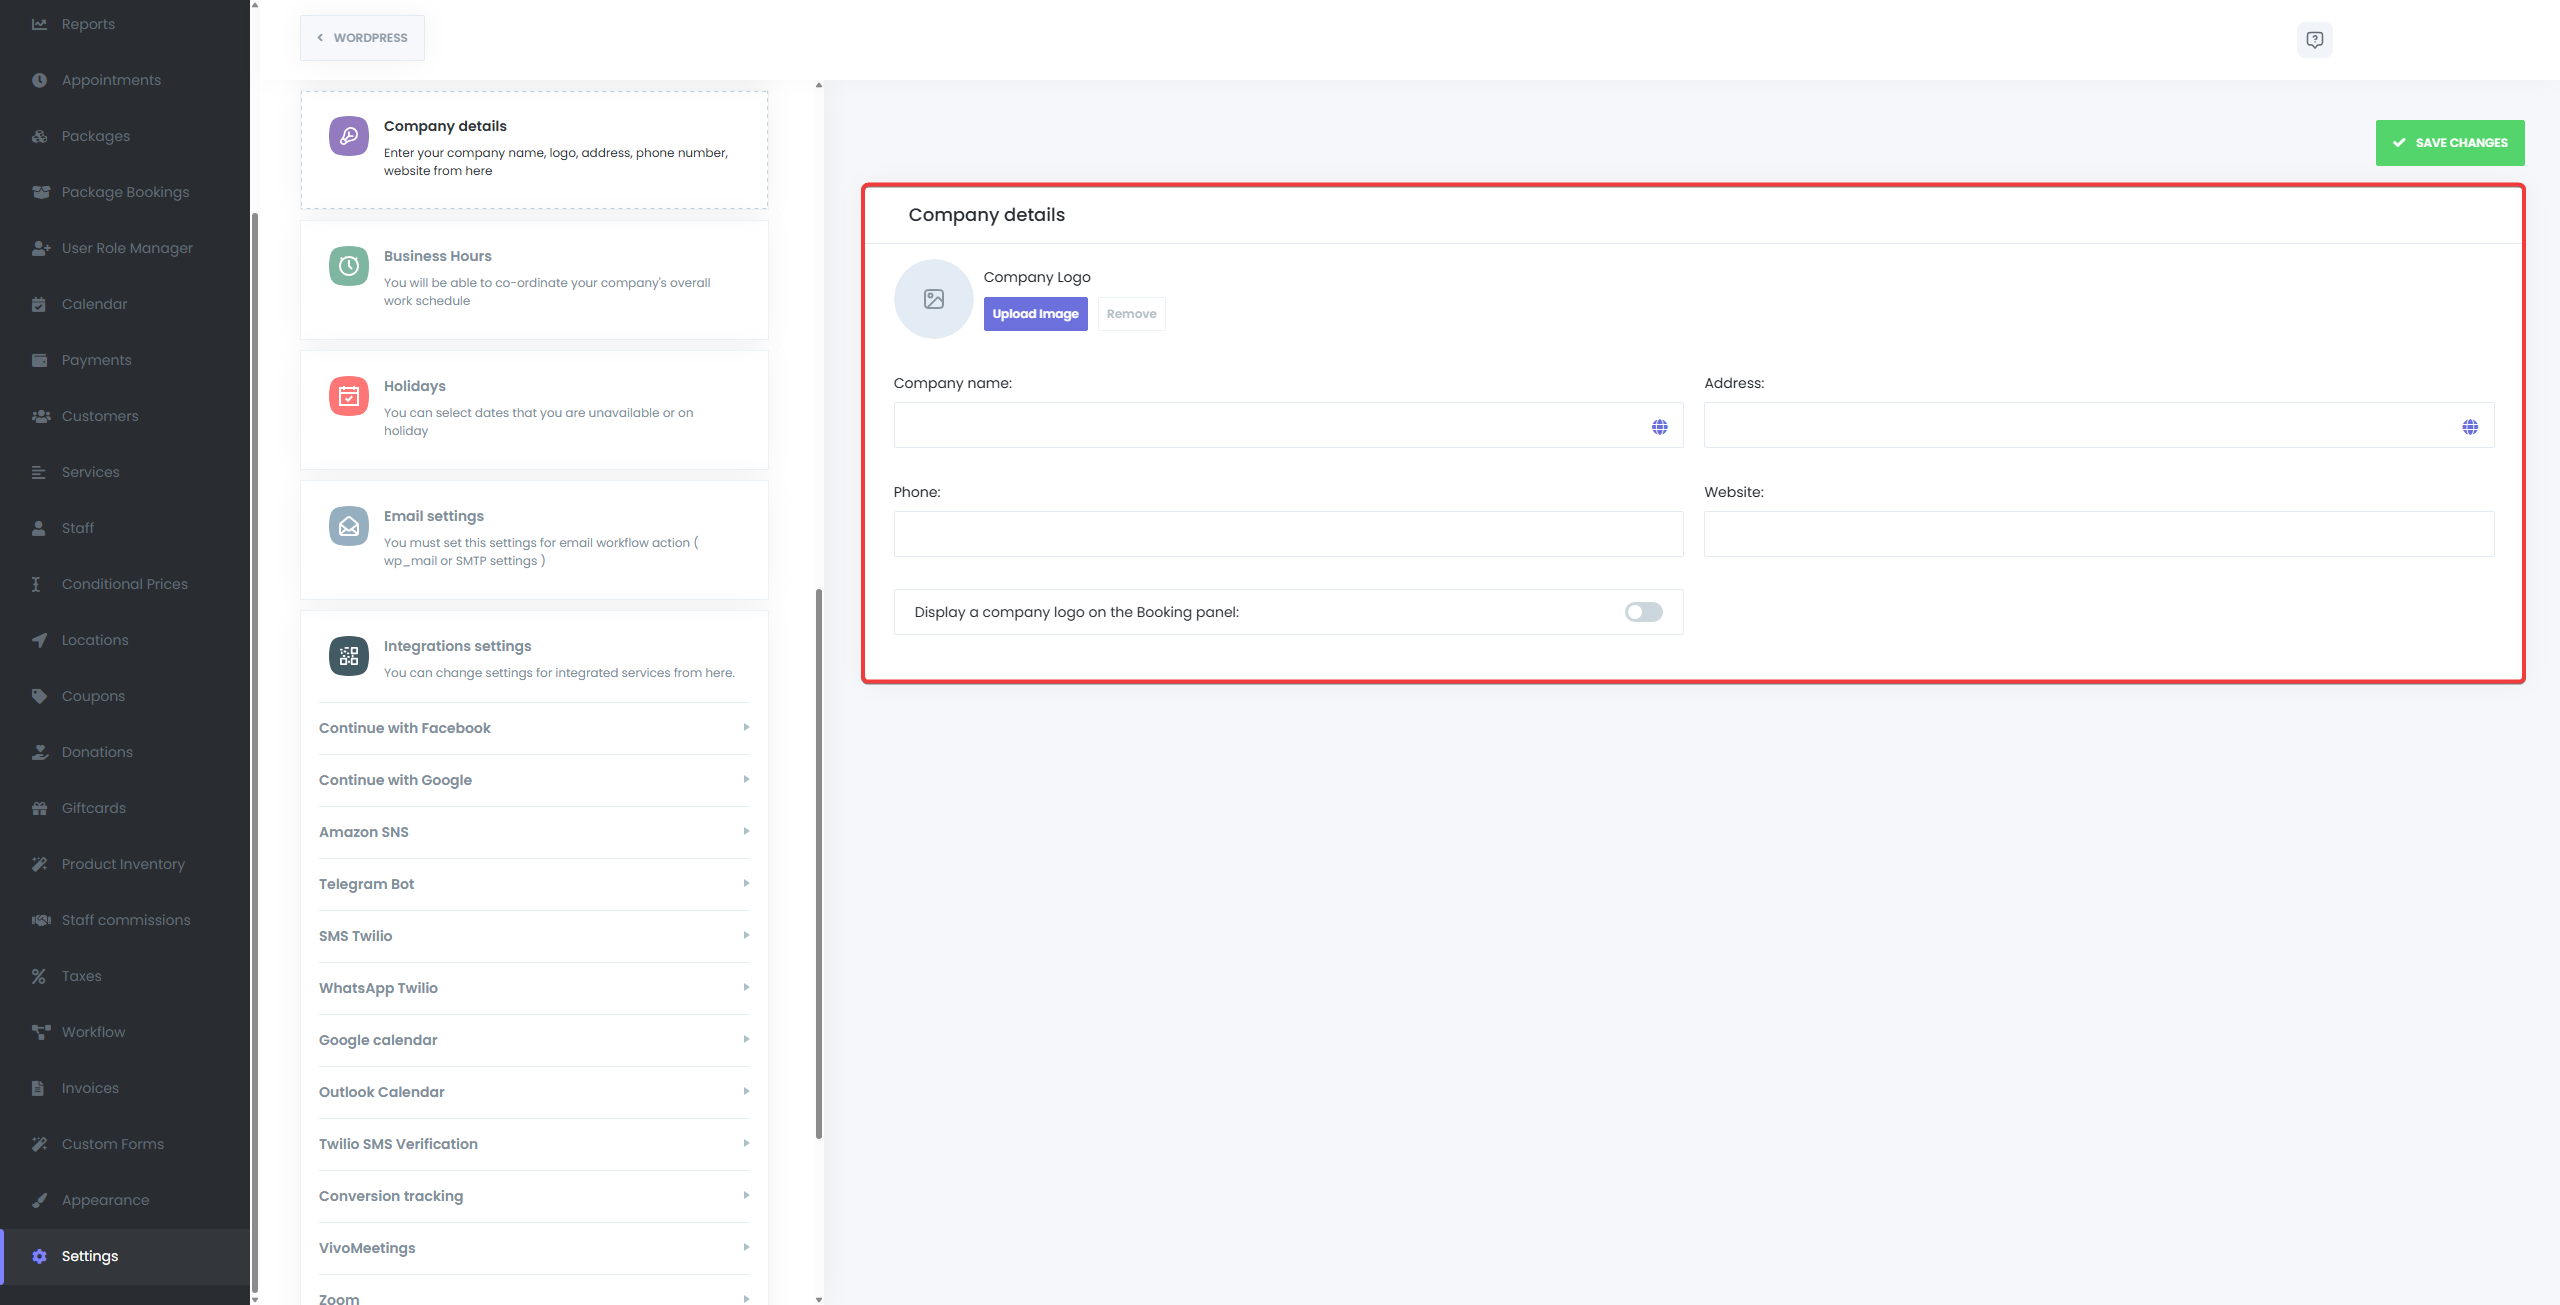
Business Logo #
Upload your business logo to visually brand the customer booking experience.
- Supported file types: JPG, PNG, SVG
- Appears on:
- The booking panel (if enabled)
- Email notifications (if configured via templates)
- Optionally visible in exported invoices
Enable the “Display a business logo on the booking panel” toggle to show your logo during booking.
Business Name #
Enter the official or public-facing name of your business.
- Appears in email templates and other communications via the {company_name} shortcode.
- Recommended to match your business license or branding.
Business Address #
Add your full business address.
- Helpful for businesses with physical locations or legal invoicing requirements.
- Can be added to emails and other template-based content using {company_address}.
Phone Number #
Provide a business contact number where clients can reach you.
- This number appears in the footer of the customer booking panel under the “Have questions?” section.
- Also available as {company_phone} for use in notifications or reminders.
Website URL #
Insert the official website or booking-specific landing page URL.
- Useful for linking back from email notifications.
- Displayed in some notification templates or branding footers.
Usage in Email Notifications #
All the above fields can be dynamically inserted into your email notifications using predefined shortcodes:
- {company_name}
- {company_address}
- {company_phone}
- {company_website}
- {company_logo}
This allows you to create professional, branded email messages for customers and staff.
Displaying the Logo on the Booking Panel #
To display your business logo on the customer-facing booking interface:
- Enable the toggle “Display a company logo on the booking panel.”
- Upload your logo under the Company Logo field.
- Save your settings.
Once enabled, the logo appears prominently at the top of the booking widget, reinforcing your brand identity.
Tips #
- Ensure the address and phone number are accurate if you include them in invoices or public pages.
- Use high-resolution logo files (ideally SVG or PNG) for the best appearance on retina screens.
- Keep your branding consistent across email, booking panel, and external communications.


